Shop Weld Quality: Visual Checks You Can Do Before NDT

In steel fabrication workshops, weld quality is not just a technical requirement—it is a structural responsibility. From beams and columns to brackets and heavy assemblies, weld integrity directly determines performance and safety. Yet many shops rely heavily on non-destructive testing (NDT) to catch problems that could have been prevented earlier. The reality is simple: a structured shop weld quality checklist combined with disciplined visual inspection can eliminate a significant percentage of weld defects before expensive testing even begins.
While NDT basics such as ultrasonic testing (UT) and radiographic testing (RT) are essential for critical joints, they should verify quality—not create it. Quality starts on the shop floor, long before advanced testing methods are applied.
Why Visual Inspection Still Matters
Visual inspection is the most fundamental and widely used weld examination method. It requires minimal equipment, delivers immediate feedback, and can identify a large proportion of common weld defects. In many international welding codes, visual inspection is the first mandatory step before proceeding to more advanced NDT basics.
Despite its importance, visual checks are often informal or inconsistent. Different supervisors may evaluate welds differently, leading to uneven quality control. This is where a structured shop weld quality checklist becomes critical. A standardized checklist ensures that every weld undergoes the same systematic review—regardless of shift, operator, or project complexity.
By implementing a consistent checklist, workshops can:
- Reduce rework caused by preventable weld defects
- Lower repeat NDT costs
- Improve documentation and traceability
- Maintain compliance with internal and external quality standards
Most importantly, it builds a culture where quality is proactive, not reactive.
Understanding the Role of a Shop Weld Quality Checklist
A shop weld quality checklist is a structured inspection guide used before, during, and after welding. It outlines measurable criteria that must be verified visually before the weld is approved for further testing or release.
The checklist typically includes three phases:
- Pre-weld inspection – Verifying material condition and setup
- In-process inspection – Monitoring welding execution
- Post-weld inspection – Examining final weld appearance and geometry
By dividing inspection into stages, the checklist prevents small issues from becoming critical failures. For example, improper fit-up detected before welding can prevent incomplete fusion later. Catching excessive heat input during welding can reduce distortion and cracking risks.
Rather than relying on memory or experience alone, the checklist turns quality into a repeatable system.
NDT Basics: Why Visual Checks Come First
Before discussing detailed inspection points, it’s important to understand how visual checks fit within NDT basics. Non-destructive testing includes several established methods:
- Visual Testing (VT)
- Magnetic Particle Testing (MT)
- Ultrasonic Testing (UT)
- Radiographic Testing (RT)
- Dye Penetrant Testing (PT)
Among these, visual inspection is the most immediate and cost-effective. According to industry guidance published by organizations such as the American Welding Society, visual examination is required before proceeding to advanced NDT in many structural welding codes. This sequence ensures that obvious weld defects are corrected before additional testing resources are deployed.
In practical terms, visual inspection can detect up to 60–80% of common weld defects at an early stage. Issues such as surface cracks, undercut, porosity clusters, overlap, or excessive reinforcement are often visible without specialized equipment. Addressing them immediately avoids repeat UT or RT scans later.
The logical workflow in most fabrication shops should therefore be:
- Perform structured visual inspection using a shop weld quality checklist
- Correct visible weld defects
- Proceed to applicable NDT basics if required by specification
This sequence reduces unnecessary costs while maintaining compliance.
Pre-Weld Visual Checks (Before the Arc Starts)
Many weld defects originate before welding even begins. A disciplined pre-weld inspection stage is essential in any shop weld quality checklist.
Key pre-weld checks include:
- Material cleanliness: Surfaces must be free of oil, moisture, paint, heavy rust, and mill scale.
- Edge preparation: Correct bevel angle and root face dimensions as specified in the WPS.
- Fit-up gap: Root opening must meet design requirements.
- Alignment: Misalignment can lead to uneven stress distribution.
- Consumables condition: Electrodes and filler wires must be dry and within specification.
A structured pre-weld inspection table might look like this:
| Item | Requirement | Status |
|---|---|---|
| Surface Cleanliness | No oil, rust, scale | Pass / Fail |
| Bevel Angle | As per WPS | Pass / Fail |
| Root Gap | Within tolerance | Pass / Fail |
| Alignment | Within tolerance | Pass / Fail |
By verifying these conditions before welding starts, shops dramatically reduce the probability of internal weld defects that would otherwise only be detected during NDT basics.
In-Process Visual Inspection
Inspection should not stop once the arc is initiated. In-process visual inspection ensures that welding parameters remain stable throughout execution.
Supervisors and QC personnel should monitor:
- Arc stability – Consistent arc behavior indicates proper voltage and amperage.
- Travel speed – Too fast may cause lack of fusion; too slow may cause excessive reinforcement.
- Heat input consistency – Excessive heat may cause distortion or cracking.
- Slag removal between passes – Incomplete cleaning can lead to slag inclusion.
Early signs of weld defects during this stage include visible undercut, surface porosity, or irregular bead shape. Detecting and correcting these issues immediately is far more efficient than grinding and repairing a completed weld later.
A disciplined shop weld quality checklist ensures these checks are documented rather than casually observed. Proper documentation also supports traceability in case issues arise during later stages of NDT basics.
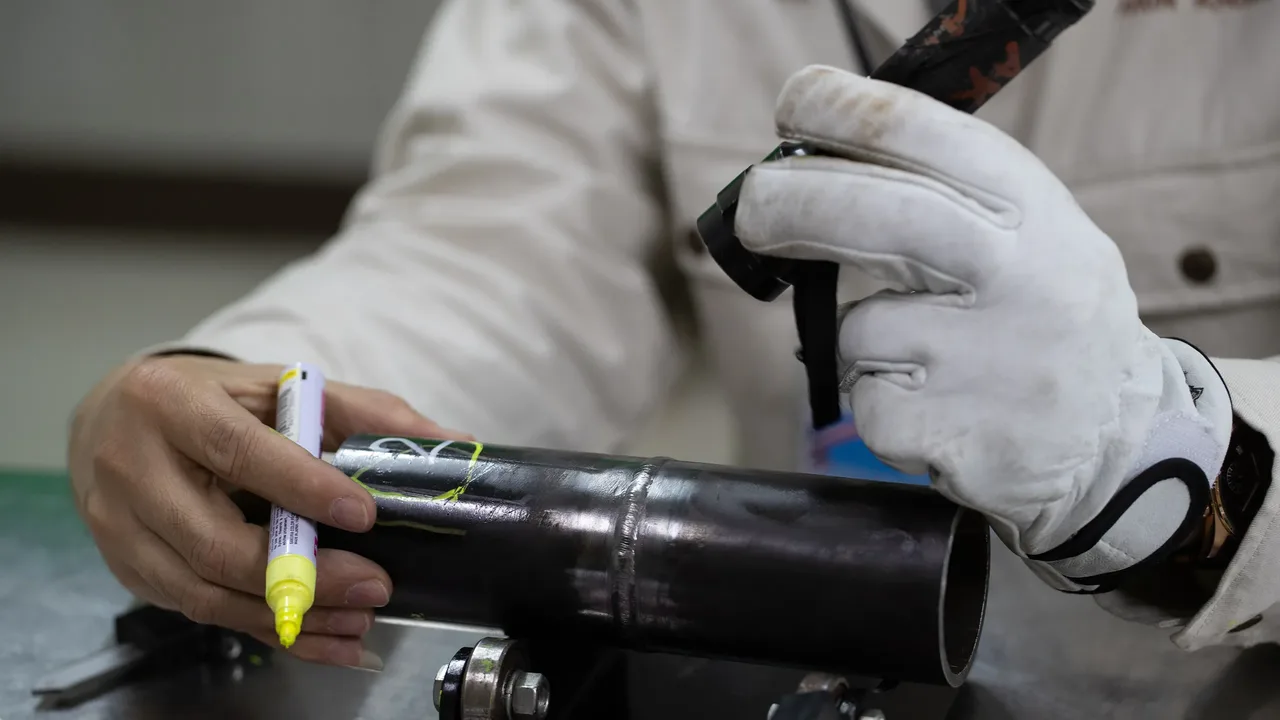
Post-Weld Visual Inspection: First Line of Defense
Once welding is complete, post-weld visual inspection becomes the final opportunity to identify surface weld defects before advanced testing.
Inspectors should verify:
- Uniform bead appearance
- Correct weld size and throat thickness
- Absence of visible cracks
- No excessive undercut or overlap
- Smooth transition at weld toes
- Acceptable reinforcement height
Measurement tools such as fillet weld gauges, straight edges, and calibrated rulers help ensure dimensional compliance. Proper lighting conditions are also essential to avoid missing small surface discontinuities.
By systematically applying a shop weld quality checklist at this stage, workshops significantly reduce the number of weld defects that progress to NDT basics. The result is fewer test failures, lower repair rates, and improved overall productivity.
Common Weld Defects You Can Catch Visually
One of the main objectives of a structured shop weld quality checklist is early detection of visible weld defects. Many surface-level discontinuities can be identified through disciplined visual inspection before applying advanced NDT basics.
Below are common weld defects that can often be detected visually:
- Cracks: Surface cracks at the weld toe or crater are critical and typically cause immediate rejection.
- Porosity: Small surface cavities caused by trapped gas; scattered porosity may be acceptable within limits, but clusters are often rejectable.
- Undercut: A groove melted into the base metal adjacent to the weld toe, reducing cross-sectional strength.
- Overlap: Weld metal rolls over the base metal without proper fusion.
- Excessive reinforcement: Overly convex weld beads that may introduce stress concentration.
- Incomplete fusion (surface indication): Visible lack of bonding between passes.
Industry technical references, such as guidance from the The Fabricator, outline how many visible discontinuities originate from improper parameters or surface contamination. This reinforces why a disciplined shop weld quality checklist must emphasize preventive visual inspection rather than relying solely on NDT basics.
Lighting, Tools, and Inspection Conditions
Even the most detailed shop weld quality checklist loses effectiveness if inspection conditions are poor. Proper lighting and tools significantly improve detection accuracy.
Recommended inspection setup includes:
- Minimum lighting intensity appropriate for close visual examination
- Fillet weld gauge for size verification
- Inspection mirror for hard-to-reach areas
- Flashlight for shadow elimination
- Magnifier (if necessary) for fine crack detection
Inspector fatigue and rushed evaluations can also reduce reliability. Rotating inspection duties and maintaining consistent inspection distances improve consistency. These simple practices enhance the value of visual inspection before escalating to more advanced NDT basics.
Building a Practical Shop Weld Quality Checklist Template
To standardize quality control, shops should formalize their shop weld quality checklist into a repeatable template. A practical structure may include three main sections:
1. Pre-Weld Section
- Material surface condition verified
- Joint preparation per WPS
- Correct fit-up and alignment
- Consumables within specification
2. In-Process Section
- Stable arc and correct parameters
- Proper slag removal between passes
- No visible early weld defects
3. Post-Weld Section
- Uniform bead appearance
- Correct weld size and profile
- No visible cracks, undercut, or overlap
- Distortion within tolerance
By embedding this structure into daily operations, shops ensure that visual inspection becomes systematic rather than subjective. Documentation from the shop weld quality checklist also strengthens traceability when NDT basics are later performed.
How Visual Inspection Reduces NDT Costs
Non-destructive testing methods such as UT and RT require equipment, certified personnel, and downtime. If visible weld defects are not caught early, failed NDT results lead to grinding, rewelding, and repeat testing—significantly increasing project cost.
Consider a simplified comparison:
| Scenario | Reject Rate | NDT Rework Cost Impact |
|---|---|---|
| Without structured checklist | 15% | High repeat testing and delays |
| With shop weld quality checklist | 5% | Reduced rework and faster release |
Reducing reject rates by even 10% can translate into substantial savings on large fabrication projects. More importantly, it prevents schedule disruptions that ripple through downstream processes.
A disciplined shop weld quality checklist acts as a preventive filter. By catching surface weld defects through visual inspection, shops minimize unnecessary repetition of NDT basics.
When Visual Inspection Is Not Enough
Although visual inspection is powerful, it has limitations. Surface evaluation cannot detect internal discontinuities such as subsurface porosity, internal lack of fusion, or embedded slag inclusions.
Advanced NDT basics become necessary when:
- Welds are part of load-bearing or critical structural components
- Codes or client specifications mandate UT or RT
- High fatigue loading is expected
- Joint thickness exceeds visual evaluation reliability
The key principle is balance. A shop weld quality checklist does not replace NDT basics—it strengthens them. By ensuring only compliant welds proceed to testing, the checklist improves overall inspection efficiency.
Quality Starts Before Testing
High weld quality does not begin in the NDT lab—it begins on the shop floor. A structured shop weld quality checklist empowers teams to identify weld defects early through disciplined visual inspection, reducing rework and improving consistency.
By integrating systematic pre-weld, in-process, and post-weld checks, fabrication shops create a proactive quality culture. NDT basics then serve their intended role: verification, not correction.
Shops that master visual inspection reduce defect rates, control production costs, and improve structural reliability—long before advanced testing methods are even applied.