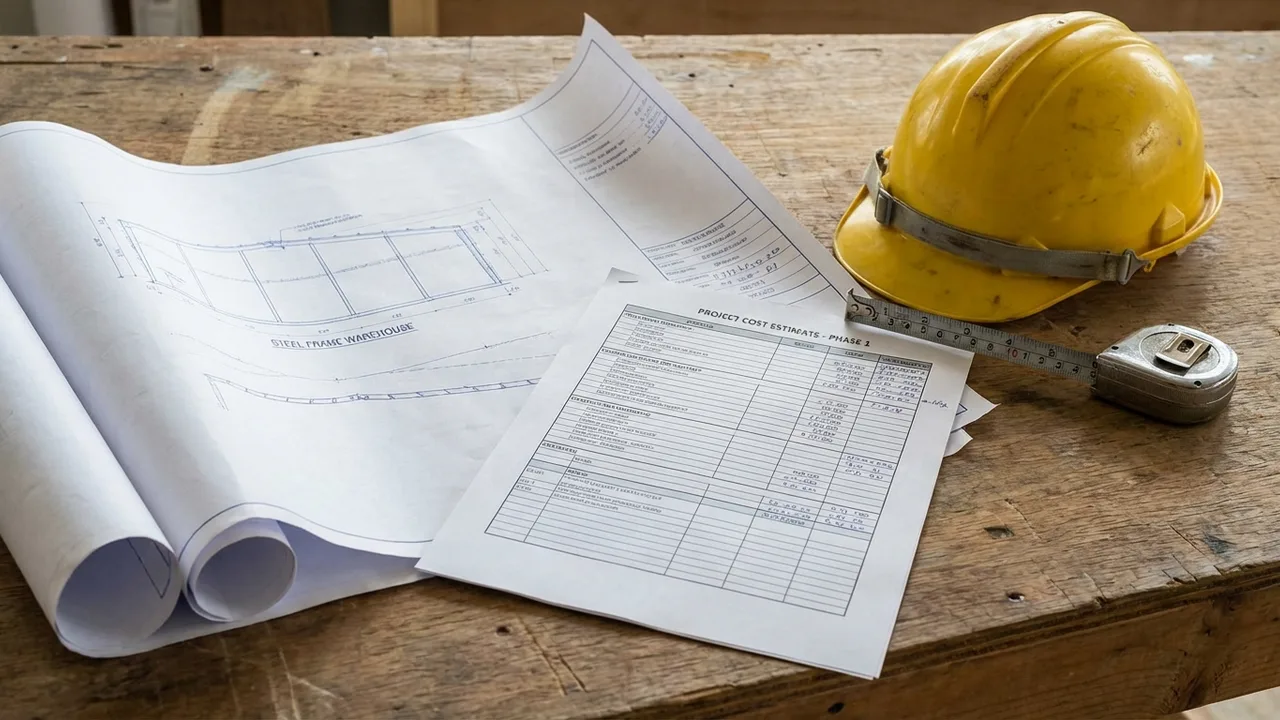
How to Specify a Steel Workshop Layout for Smooth Production Flow
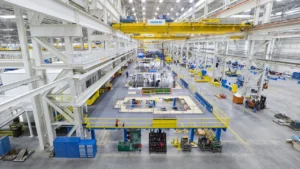
In heavy fabrication environments, layout is not just a matter of architecture—it is a strategic decision that determines productivity, safety, and long-term scalability. A poorly arranged workshop can create bottlenecks, increase material handling costs, and expose workers to unnecessary risks. On the other hand, a well-designed layout supports uninterrupted production flow, minimizes wasted movement, and ensures that every square meter contributes to output.
This is where steel workshop layout planning becomes critical. Unlike light manufacturing facilities, steel workshops deal with oversized materials, overhead cranes, high-temperature processes, and heavy machinery. These factors demand a structured approach to layout specification that aligns workflow, safety aisles, and material handling systems into one cohesive design.
Understanding Steel Workshop Layout Planning
Steel workshop layout planning refers to the systematic arrangement of equipment, workstations, storage zones, and movement corridors within a steel fabrication facility. The objective is to create a logical path for materials—from raw steel plates and sections entering the workshop to finished assemblies exiting for delivery—without unnecessary backtracking or cross-traffic.
Unlike generic factory layouts, steel workshops must account for:
- Large and irregularly shaped materials.
- Overhead crane coverage zones.
- Heavy-duty cutting, drilling, and welding equipment.
- Heat and noise segregation.
- Strict safety aisle requirements.
The complexity of these factors means that layout planning cannot be improvised after construction begins. Instead, it must be specified early, based on projected production capacity, product type, and workflow logic.
Mapping the Ideal Production Flow
At the heart of any efficient workshop lies a clear and uninterrupted production flow. The most effective layouts follow a linear or near-linear progression of operations. Materials move forward through each stage, reducing double handling and eliminating unnecessary crossing paths.
A typical steel fabrication workflow includes:
- Raw material receiving – unloading plates and sections.
- Storage zone – organized stacking with crane access.
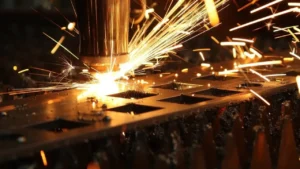
- Cutting area – plasma, laser, or flame cutting stations.
- Processing – drilling, punching, or milling.
- Assembly – tack welding and fit-up.
- Welding and finishing – structural welding, grinding.
- Surface treatment – blasting and painting.
- Dispatch zone – staging for transport.
When these stages are arranged sequentially, material moves in one direction. This minimizes congestion and shortens internal transport distances. Conversely, layouts that require materials to travel backward or across multiple zones increase handling time and raise accident risks.
For example, if the cutting area is positioned far from raw material storage, crane operators must repeatedly lift and reposition heavy sections over long distances. This not only slows operations but also increases wear on lifting equipment.
Material Handling Strategy: The Hidden Efficiency Multiplier
In steel workshops, material handling often consumes more time than actual fabrication. Lifting, transporting, rotating, and repositioning heavy steel components can account for a significant portion of labor hours. Therefore, specifying layout without considering handling paths is a major oversight.
Effective handling strategies integrate:
- Overhead bridge cranes with full bay coverage.
- Forklift lanes separated from pedestrian paths.
- Roller conveyors between processing stations.
- Clear load transfer zones between bays.
The key objective is to reduce travel distance per component. If a beam travels 120 meters internally before completion, but a redesigned layout reduces that distance to 70 meters, the cumulative time savings across hundreds of pieces become substantial.
Optimized material handling also lowers fuel consumption, reduces crane cycle frequency, and minimizes equipment fatigue. Over time, these operational gains significantly impact overall production costs.
Designing Safety Aisles Without Sacrificing Space
Heavy fabrication environments pose inherent risks, making properly designed safety aisles essential. However, safety planning must balance compliance with spatial efficiency. Aisles that are too narrow compromise safety; aisles that are too wide reduce productive floor space.
Common guidelines include:
- Dedicated pedestrian walkways clearly marked and separated from forklift routes.
- Minimum forklift aisle widths based on turning radius and load dimensions.
- Crane operation zones free from pedestrian traffic.
- Emergency evacuation paths unobstructed at all times.
Regulatory bodies such as the Occupational Safety and Health Administration (OSHA) provide general safety standards for material handling and warehouse operations that are often adapted to steel workshop environments. Integrating such standards during the layout planning phase prevents costly retrofits and compliance penalties later.
Importantly, safety aisles should follow the same directional logic as production flow. Crossing paths between forklifts and assembly zones create both inefficiency and danger. A smart layout isolates heavy transport routes from precision assembly areas, ensuring that movement remains predictable and controlled.
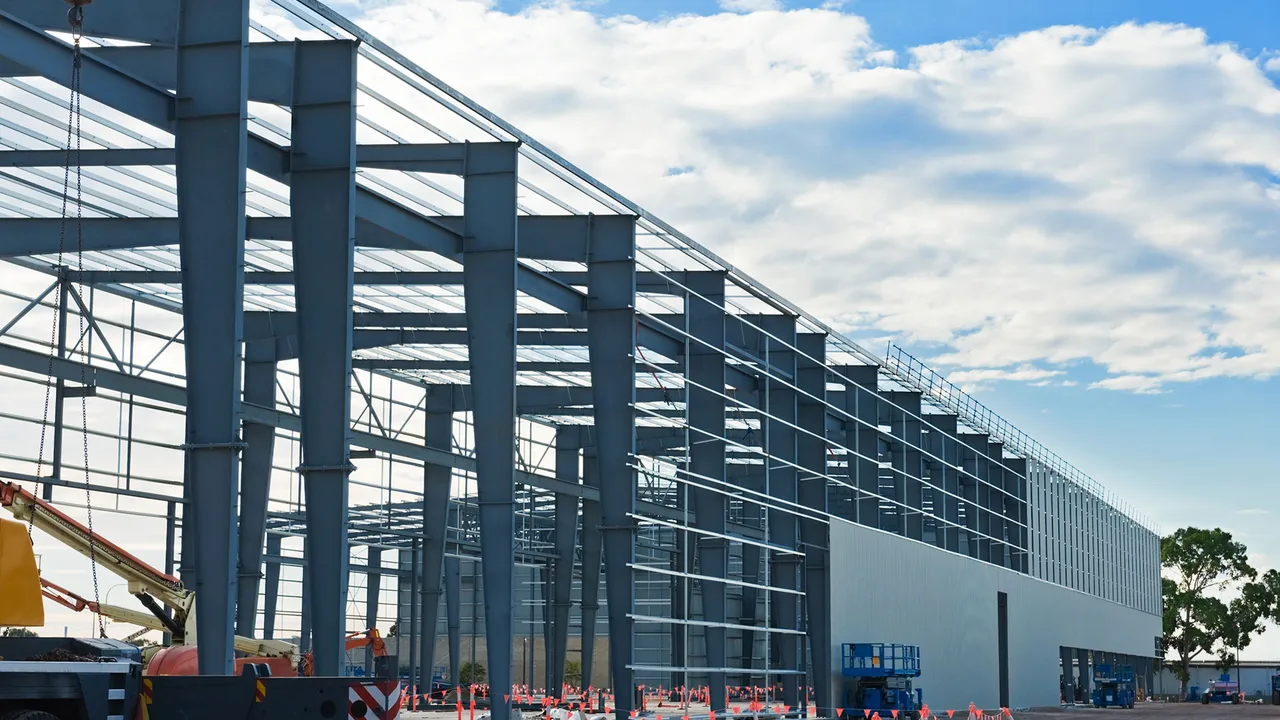
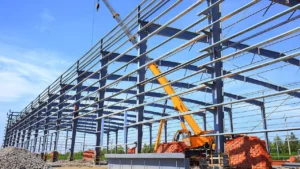
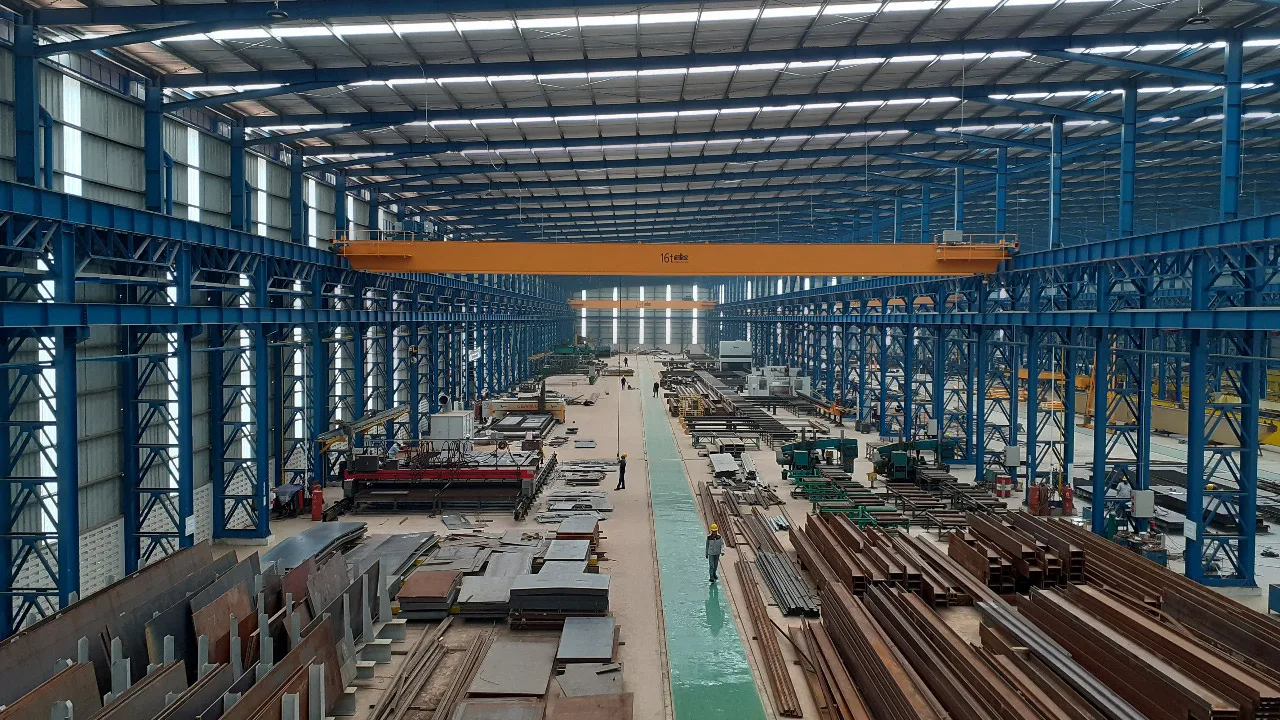
Crane Coverage and Structural Bay Spacing
Overhead cranes are the backbone of most steel workshops. Therefore, steel workshop layout planning must align workstation positioning with crane coverage. Each bay should allow full lifting range without blind spots or awkward positioning.
Key considerations include:
- Workshop width relative to crane span capacity.
- Column spacing that does not obstruct material transfer.
- Clear headroom above major assembly stations.
- Strategic positioning of heavy fabrication zones within central crane coverage.
Improper bay spacing can force operators to rely excessively on forklifts for repositioning, which slows production and increases congestion. In contrast, balanced crane coverage ensures that large components move smoothly from cutting to assembly with minimal intermediate handling.
When specifying a new facility, planners often simulate crane movement patterns to verify that every major workstation falls within optimal lifting range. This foresight prevents costly structural modifications in the future.
Storage Zones: Raw Material vs. Finished Goods
Storage planning is another critical dimension of layout design. Raw material zones should sit close to the cutting line, reducing the need for long-distance lifting. Finished goods, by contrast, should be located near dispatch gates to streamline loading operations.
Separating these two zones clearly prevents cross-traffic and confusion. A common mistake in poorly planned workshops is stacking finished components near raw material areas, forcing repeated repositioning during busy periods.
Applying FIFO (First-In, First-Out) principles in storage layout further enhances workflow clarity. Clear labeling, marked stacking lanes, and crane-accessible rows ensure that older materials move first, reducing idle inventory and storage inefficiencies.
Flexibility in Steel Workshop Layout Planning
One of the most overlooked aspects of steel workshop layout planning is flexibility. Many facilities are designed strictly for current capacity requirements, leaving no room for future expansion. However, steel markets fluctuate, and production demand can increase significantly within a few years. A rigid layout quickly becomes a bottleneck when additional machinery, welding lines, or blasting systems must be installed.
Flexible planning means allocating space buffers in strategic areas. For example:
- Leaving expansion room beside cutting lines for additional CNC tables.
- Designing structural bays that can support higher-capacity cranes in the future.
- Providing modular assembly zones that can scale horizontally.
- Ensuring electrical and compressed air systems are designed with spare capacity.
Instead of maximizing every square meter on day one, smart layouts balance current utilization with long-term adaptability. This approach reduces future retrofit costs and production interruptions when scaling becomes necessary.
Common Layout Mistakes That Kill Productivity
Even well-equipped workshops can suffer from poor performance if layout principles are ignored. Certain recurring mistakes consistently undermine efficiency and safety:
- Backtracking production flow: Materials forced to move backward create congestion and confusion.
- Blocked crane pathways: Storage racks placed under primary lifting zones limit maneuverability.
- Insufficient safety aisles: Narrow lanes increase accident risk and slow forklift operations.
- Mixed pedestrian and vehicle traffic: Overlapping paths raise safety hazards and operational delays.
- Poor zoning of heat-intensive processes: Welding or blasting areas placed near precision assembly stations affect quality and comfort.
These errors may appear minor during the planning phase but compound over time. A few extra meters of unnecessary material handling per component, multiplied by thousands of parts annually, translate into significant productivity losses.
Case Example: Comparing Two Workshop Layout Scenarios
To illustrate the impact of layout decisions, consider two hypothetical steel fabrication facilities of similar size and capacity.
Scenario A: Inefficient Layout
- Random workstation positioning.
- Frequent cross-traffic between forklifts and welding teams.
- Limited crane reach in certain assembly areas.
- Finished goods stored mid-workshop.
Scenario B: Optimized Layout
- Linear production flow from receiving to dispatch.
- Clearly defined safety aisles separated from transport lanes.
- Full crane coverage across major bays.
- Dedicated raw and finished goods zones.
| Parameter | Inefficient Layout | Optimized Layout |
|---|---|---|
| Average Lead Time | 14 days | 9 days |
| Handling Distance per Component | 120 meters | 65 meters |
| Accident Risk | High | Low |
| Overall Productivity | Moderate | High |
The optimized scenario demonstrates how strategic steel workshop layout planning directly reduces lead time and enhances operational stability. Even without upgrading machinery, layout alone can unlock measurable gains.
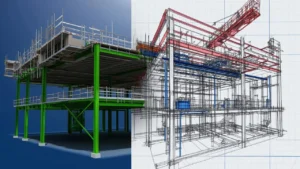
Digital Tools in Modern Layout Planning
Today, layout design is no longer limited to 2D drawings. Advanced CAD tools and factory simulation software allow planners to model production flow, crane movement, and material handling paths in three dimensions. These tools simulate forklift turning radii, safety aisle clearance, and workstation spacing before construction begins.
Using digital twin technology, engineers can test multiple layout scenarios and identify bottlenecks virtually. This reduces costly redesigns after equipment installation. Modern industrial engineering methodologies—often aligned with lean manufacturing principles—support data-based decision making to optimize workshop performance.
Simulation tools also allow planners to estimate throughput rates, calculate internal transport distances, and assess safety risks. By integrating projected production volumes into the model, decision-makers ensure the facility can handle peak loads without congestion.
Balancing Efficiency, Safety, and Scalability
A successful layout is never optimized for just one metric. Focusing solely on maximizing equipment density may improve short-term capacity but compromise safety aisles and employee mobility. Conversely, allocating excessive open space may reduce operational density and increase construction costs.
The goal of steel workshop layout planning is to strike a balanced configuration where:
- Production flow remains uninterrupted.
- Material handling paths are short and predictable.
- Safety aisles comply with regulatory standards.
- Future expansion can occur with minimal disruption.
This balance requires collaboration between structural engineers, production managers, crane suppliers, and safety specialists. Early coordination ensures that structural bay spacing, crane capacity, and workstation positioning align with real operational needs.
Designing for Flow, Safety, and Growth
In steel fabrication, layout is more than a floor plan—it is a performance strategy. Proper steel workshop layout planning aligns workflow, crane coverage, storage zones, and safety aisles into a unified system that supports smooth production flow. When material handling distances are minimized and traffic paths are clearly defined, workshops operate with greater speed and lower risk.
The difference between an average workshop and a high-performing one often lies not in the equipment installed but in how intelligently it is arranged. By prioritizing flow logic, safety integration, and long-term scalability, businesses create facilities capable of adapting to changing market demands without costly restructuring.
Ultimately, a workshop designed with foresight delivers consistent productivity, safer operations, and sustainable growth. In a competitive fabrication industry, that advantage is not optional—it is essential.